I've been working toward glueing down the last remaining portions of the deck. The only parts that weren't permanently attached were the deck panels above cockpit sides.


 I hadn't used a router for something this big in quite a while so I forgot a few basics, like; make sure that the screw holding the bearing on the router bit is tight. The picture to the right shows some filler that I had to add because of this oversight. Once the filler dries, I'll clean it up and re-route that section of the gunwale.
The last little bit of work that I accomplished was to fabricate a piece of mahogany for the very front of the cabin. The picture below shows the result.
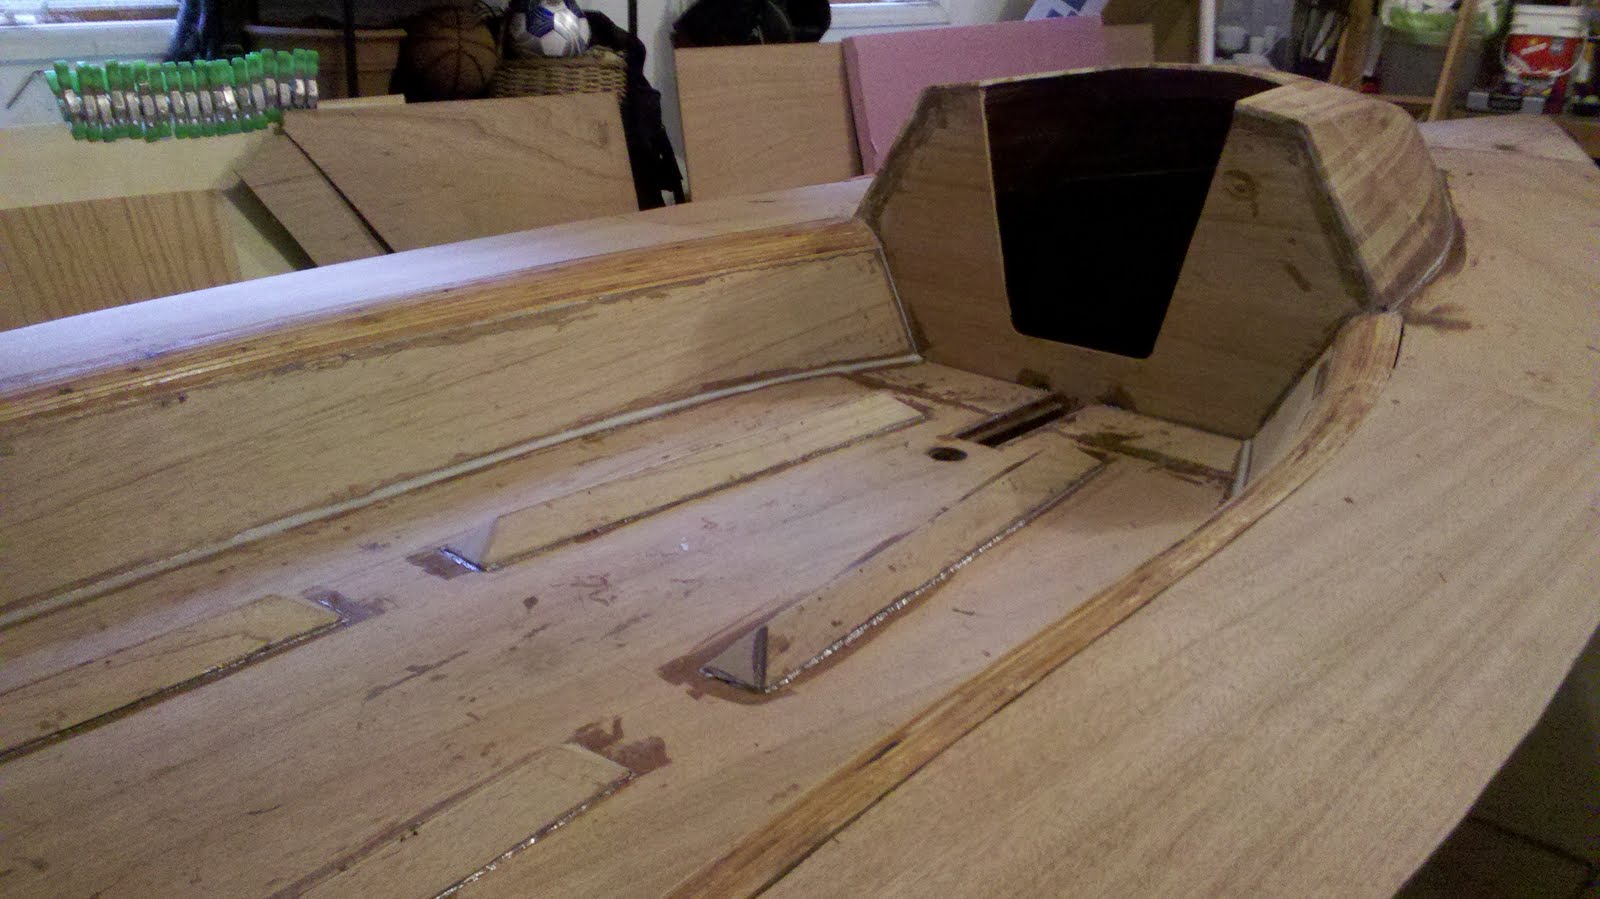
We've had a small debate about the curves between the aft deck and the cockpit sides. As described earlier, I made these out of 3/8" x 3/8" cedar strips formed around curves in the frames and a couple of curved support blocks. These strips were glued together and held in place with staples while the epoxy set. I really only used cedar because it was easy to work with and is rot resistant. I had intended to glass and paint over this whole area.
To make a long story short, my kids think that I should not paint over the curved sections and instead should just varnish this area. They think that it would be a nice continuation of the (natural cedar) cabin top. I agree with them, but to go with this look I have to remove a whole lot of staples (probably a couple hundred), most of which are under a layer of epoxy. I've decided to give in on this - it will probably take several hours to get them all out, but it will probably be worth it. Of course I need to do this soon because I'm not too far away from glassing the entire deck.
Work on the boat over the Labor Day weekend consisted of a bunch of small jobs that really don't look like much to friends and family. The most visible mini-project was reinforcing the bow prod receiver tube with carbon fiber. To do this, I used small bits of 1/4" plywood to "fill in the gaps" between the hull and to protruding tube, and then laid 12 oz. carbon fiber clot over the whole thing.
The next task was to simply trim off the excess when the epoxy set.
The other big(ger) task over the weekend was to reinforce the seams between the cabin and the deck, and between the cockpit floor and the sides. In both cases, I used biax tape which I wetted out ahead of time. All of these seams are "outside" curves (even though they are inside the boat) with gravity as the enemy. An extra set of hands would have been nice, since it took quite a bit of time to get the tape to stick. In any case, the reinforcements looked really smooth after they were done. Once the tape was in place, I then filled in the gap between the cabin and the deck with thickened epoxy.
Bow Prod Extension and Retraction
Thinking a bit ahead, I'm planning on having a very simple bow prod extension mechanism, with a pulley on frame 18 and a line running straight back through the cabin bulkhead to a jam cleat. I'm planning on having the spin tack line run right through the center of the prod and out the tip (which I still need to fabricate). The tack line would also double-duty as the pole retraction cord. The tack line will also run though the cabin bulkhead and will cleat right next to the prod extension line. Of course all of this may change, but that's the plan for now.


 I hadn't used a router for something this big in quite a while so I forgot a few basics, like; make sure that the screw holding the bearing on the router bit is tight. The picture to the right shows some filler that I had to add because of this oversight. Once the filler dries, I'll clean it up and re-route that section of the gunwale.